
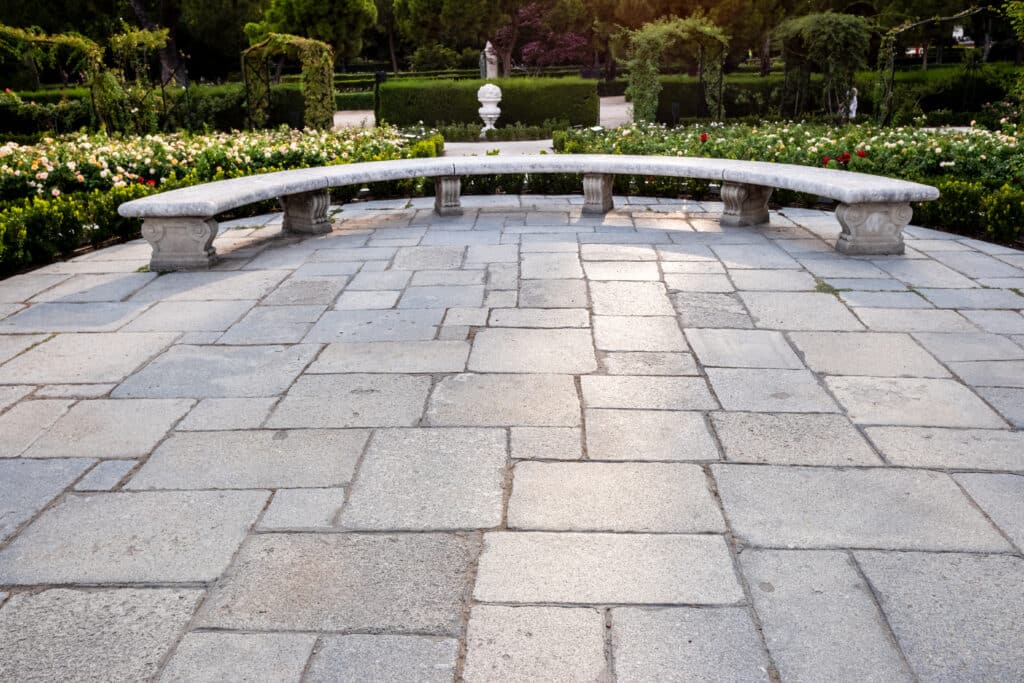
A custom walkway transforms your outdoor living space, bridging the gap between functional landscaping and pure visual appeal. While building a path may seem like a simple weekend project, the longevity of your hardscaping depends entirely on proper engineering, subbase compaction, and moisture management.
Whether you select natural flagstone, slate, granite, or manufactured concrete units, learning the industry-standard installation practices ensures your path remains level and safe for decades. This masterclass outlines exactly how to lay stone pavers for walkway installations that survive shifting soils and heavy foot traffic.
1. Plan, Layout, and Calculate Materials
Before breaking ground, you must outline the exact dimensions of your path. Use a garden hose or marking paint to map out your desired trajectory. Straight paths offer modern, geometric, clean lines, while winding paths complement organic, traditional landscapes.
To avoid running out of materials, use a precise formula to map your surface area. Multiply the total length by the width to get your square footage, then add a 10% waste buffer for broken units or custom cuts.
Essential Material and Tool Checklist
- Stone Pavers (Natural stone, concrete pavers, or interlocking pavers)
- Crushed stone base material (3/4-inch angular gravel)
- Paver sand (washed concrete sand)
- Polymeric sand for stable joint filling
- Snap-edge restraints and heavy-duty spikes
- Plate compactor, rubber mallet, and a diamond-blade wet saw
2. Excavation and Soil Subgrade Prep
To properly prepare your site, excavate the soil to a uniform depth of 7 to 8 inches. This allows room for a 4-inch compacted gravel base, a 1-inch bedding layer of sand, and the thickness of the Stone Pavers themselves, while ensuring a consistent, level slope for water runoff.
Soil stability dictates the lifespan of your hardscape. If you skip deep excavation, shifting ground, and frost heaves will quickly ruin your smooth surface.
Establishing the Pitch
Water must always flow away from your home’s foundation. Ensure your walkway maintains a slope of at least 1/4 inch per linear foot. Drive stakes at the beginning and end of the path, tying a tight mason line between them to establish a perfectly uniform grade.
3. Laying the Aggregate Foundation
Never drop pavers directly onto raw dirt. A long-lasting pathway requires a multi-layered aggregate foundation built from structural, angular gravel and sharp bedding sand.
- Lay the Geotextile Fabric
1.Lay the Geotextile Fabric: Prevents shifting.
Line your cleared trench with heavy-duty geotextile fabric. This permeable barrier keeps the soil from mixing with your gravel base, dramatically reducing weed growth and preventing sinkholes.
- Add and Compact the Gravel Base
2.Add and Compact the Gravel Base: 4 inches thick.
Pour 3/4-inch angular crushed stone into the trench in 2-inch increments. Run a mechanical plate compactor over each layer at least three times, spraying a light mist of water to help lock the jagged stone particles into a rock-solid, unyielding subbase.
- Install Edge Restraints
3.Install Edge Restraints: Locks the borders.
Secure heavy-duty plastic or metal snap-edge restraints along the perimeter lines of your walkway. Drive 10-inch steel spikes into the base every 12 inches to anchor the borders securely and prevent your pavers from spreading outward over time.
- Screed the Bedding Sand
4.Screed the Bedding Sand: 1 inch thick.
Lay down two 1-inch-outer-diameter steel pipes across your gravel. Pour coarse washed concrete sand between them, then slide a straight 2×4 board along the pipes to screen a perfectly flat, uniform 1-inch sand bedding layer. Do not step on this sand once it is smooth.
4. Setting the Stone Pavers
With your foundation set, you can begin the precise task of placing the stones.
Always start laying your pieces at the lowest point of the slope or along a hard foundation wall. Place each paver straight down into the sand; never slide them, as this disrupts your perfectly smooth bedding layer. Use a standard herringbone, running bond, or basketweave pattern to distribute foot traffic weight evenly.
Checking Alignment
Keep a long bubble level across your path as you work. If a single stone sits a bit too high, gently tap it down using a non-marring rubber mallet. If a piece sits low, lift it out, sprinkle a trowel of sand beneath it, and reset it. Keep your joints tight, aiming for uniform gaps between 1/16 and 1/8 of an inch.
5. Joint Polymeric Sand Application
To lock your walkway stones permanently in place, sweep polymeric sand into the open joints until they are completely filled to the top. Vibrate the sand down into the gaps using a plate compactor protected with a rubber pad, sweep away all excess surface dust, and lightly mist the path with water to trigger the hardening polymers.
Polymeric sand contains specialized chemical binders that activate when wet. Once dry, it turns into a strong, flexible mortar that locks out weeds, stops ants from tunneling, and prevents water from washing away your foundation sand.
Comprehensive Walkway Installation FAQs
How deep should I dig for a paver walkway?
You should excavate to a depth of 7 to 8 inches. This accommodates a 4-inch base of compacted gravel, a 1-inch layer of bedding sand, and standard 2.375-inch thick pavers, leaving the finished walkway flush with the surrounding grass.
Can I lay stone pavers directly on dirt or grass?
No, laying pavers directly on dirt or grass leads to rapid settling, uneven surfaces, and weeds. Without a properly crushed-stone drainage base and edge restraints, the stones will shift, sink, and crack under foot traffic within a single season.
What is the best sand to use under stone pavers?
The best choice is coarse, washed concrete sand (often called ASTM C33 sand). Avoid using fine playsand or masonry sand, because their rounded grains slide around and will wash away easily under rain.
How do I prevent weeds from growing in my paver walkway?
Use high-quality geotextile fabric beneath your gravel base to block deep root systems, and seal your surface joints with polymeric sand. The polymer binders harden into a dense barrier that prevents windblown weed seeds from taking root in the joints.
How long does a properly installed stone paver walkway last?
A professionally installed paver walkway built on a fully compacted aggregate foundation easily lasts 30 to 50 years. Individual concrete or natural stone units are highly durable, and individual pieces can be easily swapped out if they ever get damaged.
Elevate Your Landscape Architecture
Mastering how to lay stone pavers for walkway structures requires precise calculations, intensive physical labor, and commercial-grade tools. If you want to guarantee a flawless, high-durability finish without the heavy lifting, working with an elite hardscaping team is the smartest move.
JBS Express Natural Stone & Landscape Material specializes in custom stone masonry, drainage systems, and premium landscape transformations. Contact us today to secure a detailed project estimate and bring your dream outdoor design to life.